Shooting Large

Occasionally, your customers need you to produce something where the final image will be poster size and in this case, the image was going to be a very large banner used in a trade show.

Here the subject is posed next to the final poster to show scale. Photography provided by client.

Here the subject is posed next to the final poster to show scale. Photography provided by client.

The process starts with the equipment you're going to use.

You need to make sure that the camera has enough megapixels to be enlarged to the extent of the client’s needs. In this case I used a Nikon D850. This camera yields a huge file that can be enlarged and still hold its quality.

The next thing to consider is the lighting. If the lighting is soft, when the image is enlarged will be visible from long distances and the image will be easy to read. Soft lighting also helps with reducing textures on the face of the subject and is usually a more desirable look.

lighting-0518-Edit-copy.jpg

We started with a main light that was an octagon of five feet across. It was only about two feet away from the subject to provide a soft even light across the face and upper body. The light was powered by a Profoto BX because who needs to be negotiating cables while on a shoot in the client’s conference room. These heads are also great for dialing in the power to get the exact look we were going for.

The next light was a three foot strip light with a grid, positioned back and to the subject’s left side to be in line with the main light. If I had had this separation light ( a light that helps separate the subject from the background) on the the subject’s right side, there would have been an imbalance of too much light coming from one side. If you place the separation light opposite the main light, it has the best chance of creating a highlight along the subject’s face/head. Since the main light is creating a shadow on the person (shadow area being the darkest area and the spot where the mail light falls the least. This technique will pop the subject off the background.

Lastly, I needed a fill light. Many times I just use a reflector (I like the TriGrip from Lastolite) but in this case, just didn’t have enough space to place one, so I used a third light with a four foot strip light box to diffuse the light and fill in some of the shadows on the subject’s face. I was able to trim down the Profoto BX significantly, to get the look I was going for.

One challenge that came up on this shoot was that I knew that ultimately the subject was going to be stripped out of the background. My original background was glass from the conference room looking out into trees with dappled lighting. Not the best background to strip a subject off of.

To assist in this, I used a simple pop-up background that was white, to make that post process easier.

Improve Your Photography by Using the Sun

_D2X4687-Edit-3rds.jpg

Check out the new podcast - The Nature Photography Podcast on apple podcast or right here!

When you are out to photograph a sunset, it’s very popular to make the sun the subject. However, consider using the sun as a design element instead of the main subject. While sunsets can be spectacular, utilizing both the sun and another subject will improve your photography.

In the photograph above, the fisherman is the subject while the sun acts as a design element. Try to always consider good composition when you are shooting. Using the sun as an element is no exception.

Using the Rule of Thirds

Using the Rule of Thirds is pretty easy. Some cameras come with a rule of thirds grid to help you position elements inside your frame. Essentially, divide your frame into three equal parts both vertically and horizontally. Then place your design elements where the lines intersect.

Using the Rule of Thirds

Using the Rule of Thirds

Hawaii_seaturtle_Maui.jpg

This is a simple way to improve your composition, using the sun as the brightest point in the frame. In the sea turtle image above, the eye is sent directly to the brightest point, (the sun) and the sun flairs and water reflections radiate out to the rest of the frame. The viewer then notices the sea turtle. Once those elements are seen, the viewer now has the freedom to roam their eyes around the frame and notice the palm trees, crashing waves, etc. With good composition, you can take a viewer on a tour around the image, leading them where you want them to go. If you would like to read more about the "Rule of Thirds", check out this article.

Look Behind You

D4D_9265-Edit-Edit-copy.jpg

When you are photographing the sun, whether it’s rising or setting, be sure to look away from the direction of the sun. Make it a practice to turn away from the sunset and see what’s being illuminated by the sun. In the above image, the rising sun was lighting up the aspen trees along the lake and making the water a vibrant mix of saturated, warm, hues. The contrast of the gray boulders at the water’s edge creates a pleasing design element that gives the viewer something to latch onto.

Be Sure to Wait

It is also very important to wait when photographing a sunset. Many, many times I see people photographing the sun alongside me and as soon as the sun exits the scene, so do the people. It’s understandable. Often that time of day coincides with dinner and people are ready to get on with the next part of their evening. However, the best sunsets can happen a few minutes after the sun is actually set. At this time of day, the sun falls behind the horizon and then a short time later, the light is reflected off of the clouds for sometimes a spectacular effect.

D5S_8743-copy.jpg


Here, the sun was dropping behind the clouds and not quite set yet. Not a very good sunset by most standards. However, after waiting five or ten minutes the payoff began. Those of us who stayed that evening could see the sun was starting to reflect off the clouds and sure enough a much better result was had, capturing a colorful sunset.

D5S_8941-Edit-copy.jpg


Waiting for the sun to drop completely, looking around, especially behind you and using the sun as a design element with other subjects in your images (and not just using the sun as the feature element) will greatly improve your images overall.

Balancing Composition

The best part about being a photographer is that we have choices. We can decide which lens is best, the type of exposure we are looking for and other variables. However, one of the most important decisions we need to make is the composition of the photograph.

As we look through the black rectangle that is our viewfinder we must make the decision as to what to include in our photograph and what to exclude.

The simplest composition choice to make while photographing is a balanced scene. This is where the photographer frames a subject and then add something to balance this. You can do this by directing someone into the scene or just finding a different vantage point.


yosemite5571-680x1024.jpg

Here we have simply added a person to the scene to give the waterfall some balance, as well as some scale. You can see that the person is also looking at the waterfall, which makes the viewer drift their eyes to what that someone is looking at.

If you were to get more than one person to go out on the street with you and both of you start staring up, maybe even pointing at the top of a building, the next passerby will likely stop and look to see what you are looking at. This is a known syndrome called FOMO. Or, Fear Of Missing Out.

Most people know this, FOMO is the driving force behind social media and why some people must be connected at all times. But as photographers, we can use it to direct a person to look at what we want. Just simply place a subject in the frame looking at something and the viewer of the photograph will do the same thing.

When we are looking to balance out a photograph, we can move around to make different compositions.

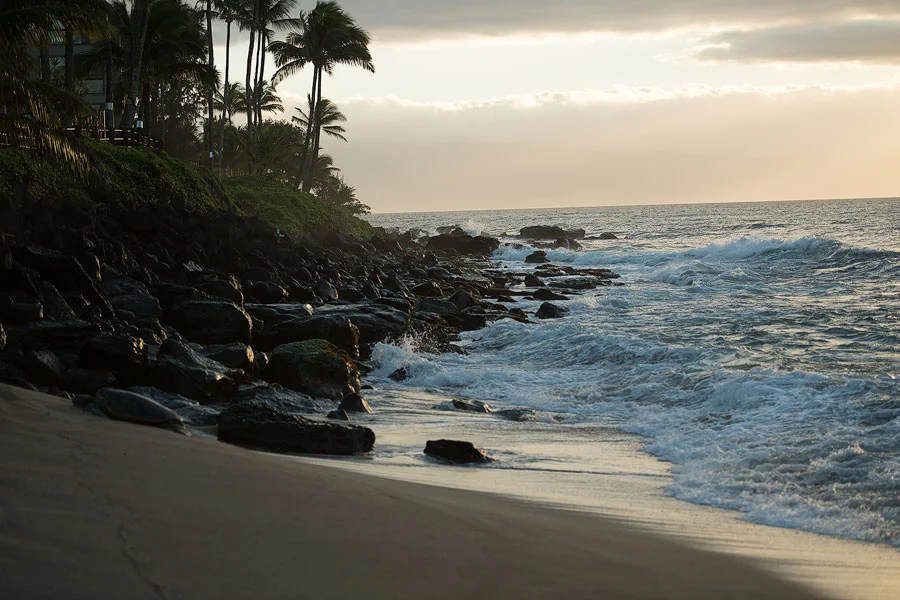
On the beach, in Maui, we saw what we thought maybe a pretty sunset so we started looking at different compositions.


D5S_9331-copy.jpg

Then this turtle washed up with a wave and things began to change. Now we had a subject to photograph. This will no longer be just a sunset but a relaxing sea turtle basking in the sunset.

D5S_9337-copy.jpg


Since it’s frowned upon if you try to physically move a protected sea turtle to make a better photograph, you have no choice but to reposition yourself in order to get a better composition.


Sea_turtle_Maui.jpg

The balance I chose was the turtle balanced against the setting sun. Knowing that most viewers will be attracted to the lightest subject in a photograph, I knew the sun needed to have something offset it. Same with just the turtle sitting there, the sun dropping in the sky adds a balance to this image.

Next, we have “The most photographed barn in America” as our subject or is it the Grand Tetons that is our subject?


Grand_Tetons_ Barn-copy.jpg

This is such a popular spot in Grand Teton National Park, there seldom a window of time where someone else is not there trying to photograph the same thing you are. The historic T.A. Moulton Barn along Mormon Row. This barn can be found when you are driving north on Highway 89 take a right, on Antelope Flats Road. Go East on this road about a mile and you should see the barn on the right.

Getting a balanced composition of the barn and the Teton mountain range is the challenge as well as getting the correct light. I would suggest early morning but the barn is worth checking out any time of day.

In this shot, I positioned the camera in and amongst the tall grasses to the south of the barn. This gave me something in the foreground but also it gave me an angle that shows both the large triangle of the mountains along with the triangles of the barn for a nicely balanced photograph.

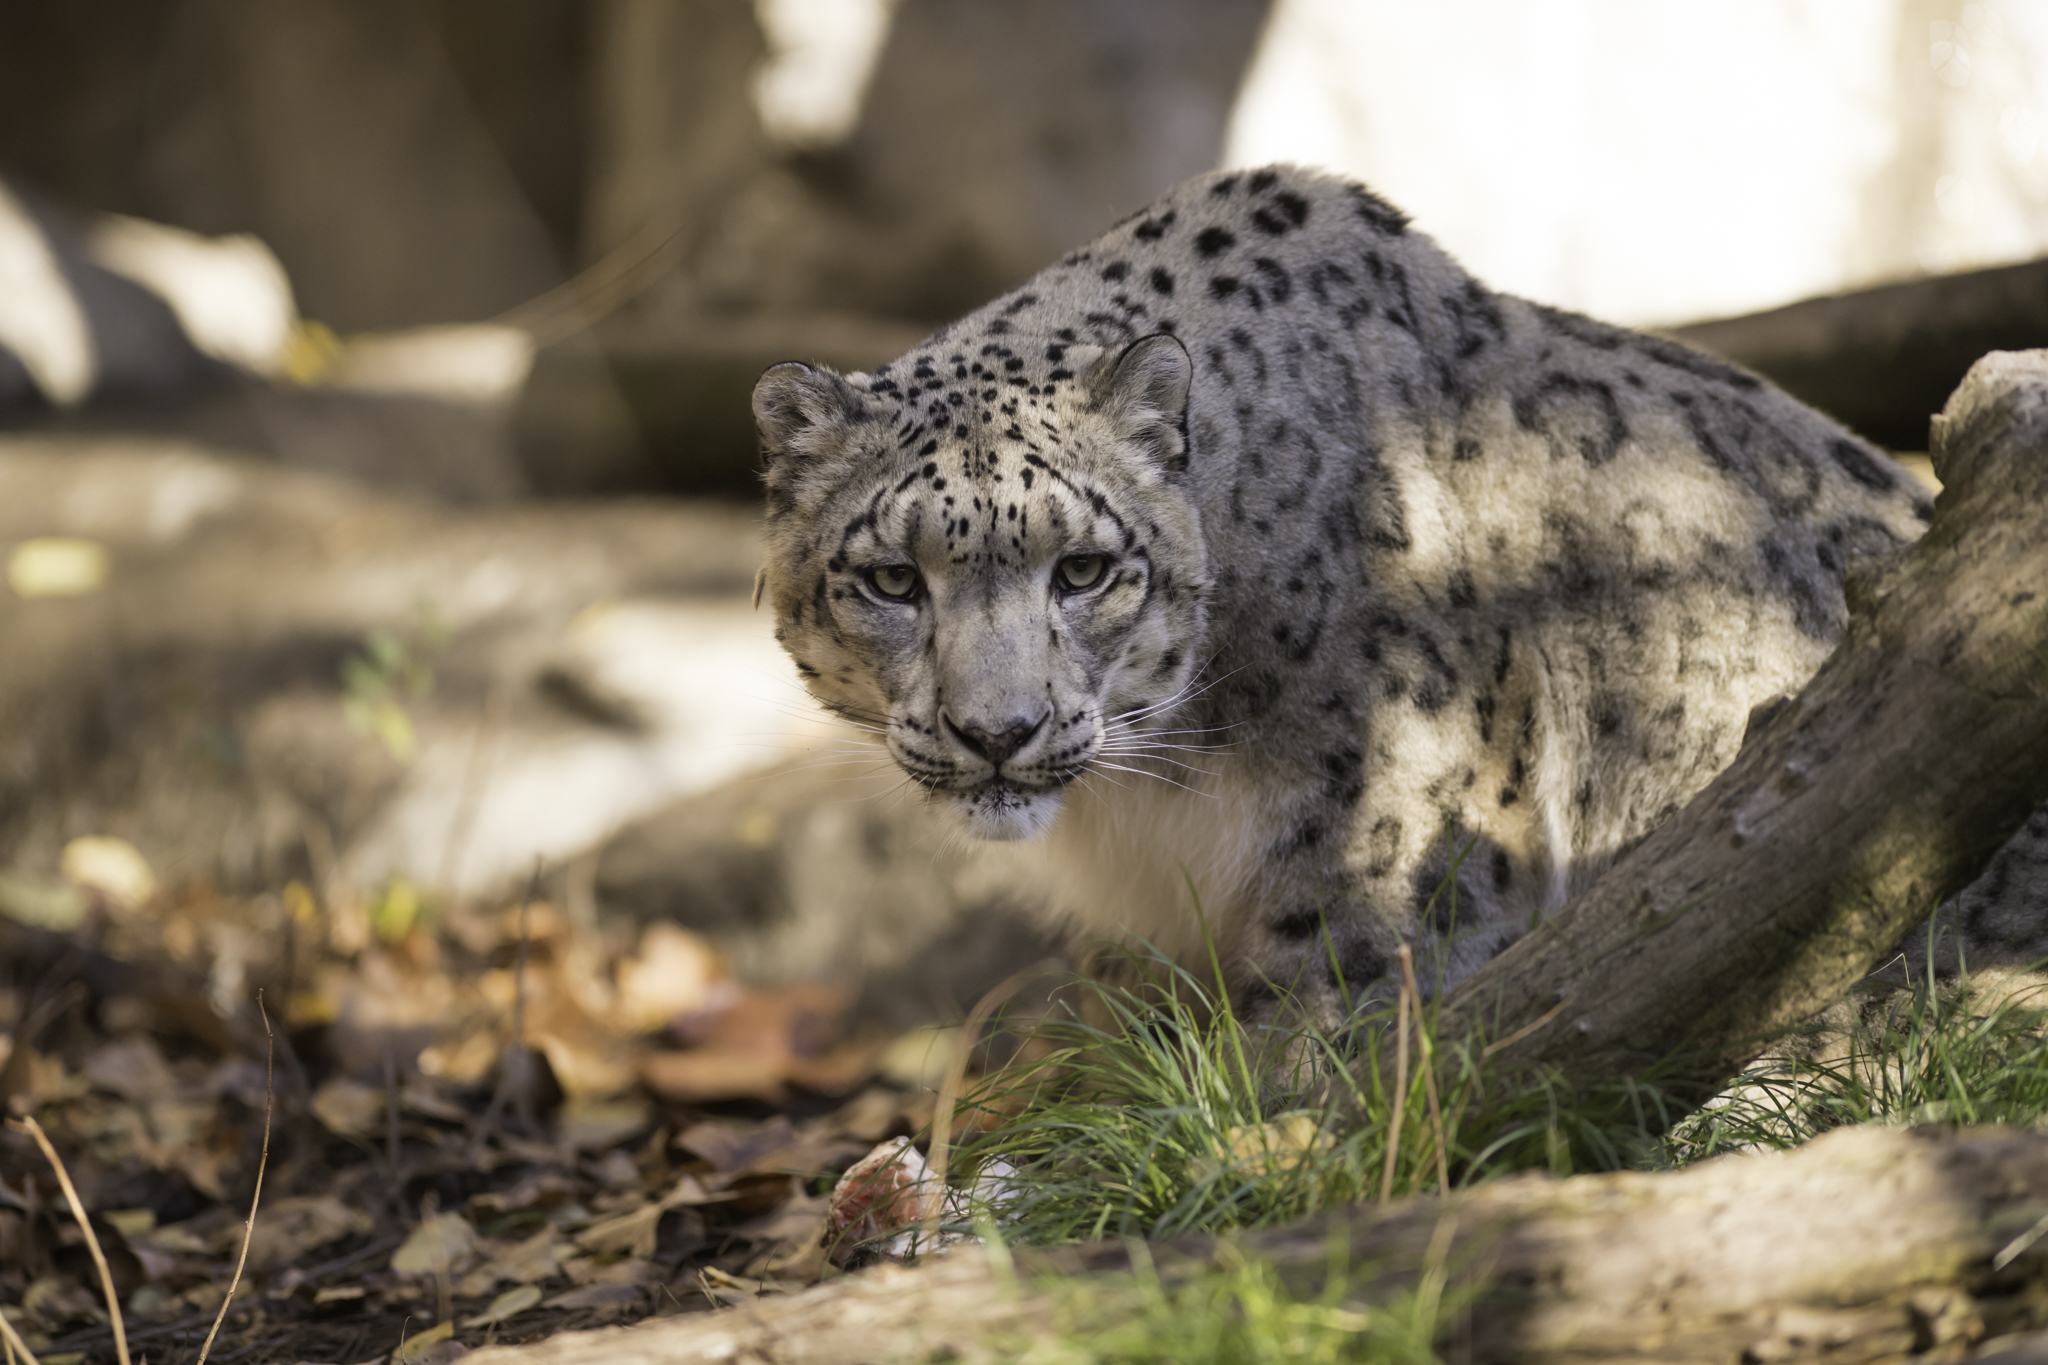
Editing The Snow Leopard

Snow-Lepard_4356-V2-copy.jpg

Here is a quick breakdown of some small, subtle changes that can affect an image greatly.  Seldom is there any photograph that goes to publication without any Lightroom or Photoshop work on the image. I usually comes down to taste as to what work you want to do on an image.

When shooting animals in an enclosure (at the zoo) there are some challenges you are going to run into. The first biggest challenge is met in that the animals are right there!  No spending days trekking through the wilderness to "hopefully" find what you want to photograph.

Here is where I started with the image right out of the camera. While the lighting was not perfect nor the background, the animal was at least looking at me.

D5S_4356.jpg

The first thing to do in Lightroom was to crop it to remove some of the distracting background elements.  That day I was testing out a Nikon 300mm 2.8 lens so I couldn't get as close I would have wanted. The lens however, is very sharp so I could do some cropping to get it reasonable look.

Cropping out some distracting elements in the background was the first step to brining the viewer's direction to the Snow Leopard's face.

Then I focused on what people look at first, the eyes.  I brought up the saturation of the eyes, added a bit of color and sharpened them.  I then added a realistic highlight by taking one of the included brushes in Photoshop an "Oil Pastel" brush, made it small and on a new layer I stamped a very light blue, color as an eye highlight. Then I did the same stamp on the other eye.  After the stamping, I added a layer mask and went in with a soft brush to remove parts of the highlight that wouldn't be there.  Such as where the eyelid overlaps or an eyelash or hair would be covering up the highlight.  This helps the new highlight to blend onto the surface of the eye.  Next, I pulled back the opacity of the layer to make the highlight a tiny bit translucent for more realism. 

 I then used the spot healing brush and the clone stamp to fix some ares of the face and fur that looked a little ragged.

Lastly, I used the burn and dodge tools to create a custom contrast.  By darkening some of the dark areas on the face with the burn tool and lighting some of the highlights in the fur with the dodge tool, I could control the contrast in the image, exactly.  Then using the burn tool I was able to darken some of the outside areas to create a custom vignette to again bring the viewer's attention back to the face of the Snow Leopard.

Snow-Lepard_4356-V2-copy.jpg


Photographing the Great Horned Owl

owl_4268-Edit-copy.jpg

Before I give you the step-by-step of how I was able to get close enough to make this photograph of the Great Horned Owl, first I want to talk about the equipment I used.

I used a  Nikon D5 with a long lens, with a wide aperture a Nikon 300mm f/2.8

While you don't always have to use such a specialized lens, it helps when you want to keep the background soft, which brings attention to your subject, using a technique called selective focus or using a shallow Depth-of-Field.

If I am trying to execute selective focus (where the subject is sharp but the background is blurry) I take these steps:

  • Use the longest lens possible.
  • Use the widest aperture that your lens or the situation allows.
  • Try to put less distance between the camera and the subject. 
  • Try to put more distance between the subject and the background.

This is not always something you can achieve when photographing wildlife but when you can, take the time move your position around to get those ratios in distance.

I also make sure my autofocus is on target.  I used a product called Focus Tune to find tune my 300mm lens to make sure it works well with each camera body I own. This tedious process,   gives me the confidence that when my autofocus hits on the eye of the animal I am photographing, I KNOW its going to be sharp.

Finding the Great Horned Owl is the real trick to this photograph.  Once you learn of the species  in your area, you need to exercise great skill in your approach to observe his daily routines, to get yourself into a position to capture great images of the animal.

In this particular case, I walked into the Sacramento Zoo and right near the entrance was this owl, resting on a handler's gloved hand.  I did take the time to ask, when no one was visiting, to move around a bit, that way I could get the subject farther from the background for a better shallow Depth-of-Field shot.  Also, moving around a few feet I could also get the owl to be in the best light.

The zoo is a great way to practice with wildlife that you know is there.  While there are other challenges you will face in the zoo, enclosures, people setting their drinks on your camera bag, its a fabulous place to work on your wildlife photography skills. 


Copyright 2015, Terry VanderHeiden